Wendt Pottery Helpful Hints
he simple answer to improving load density with fewer shelves is the use of risers sized various diameters to fit a variety of pot foot sizes.
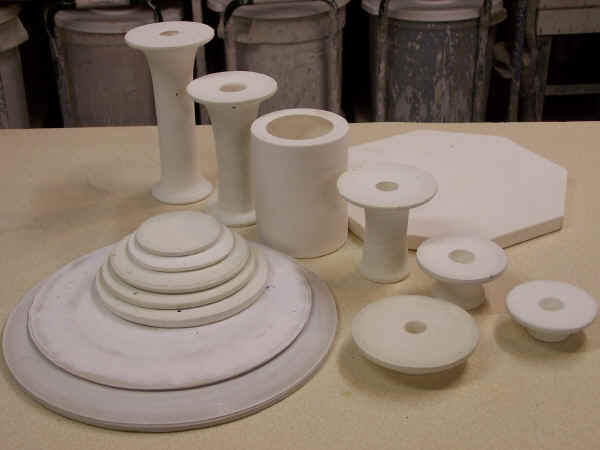
I use the wheel to make these. They are very true and flat and stay that way plus they catch drips and runs so they protect the shelves.
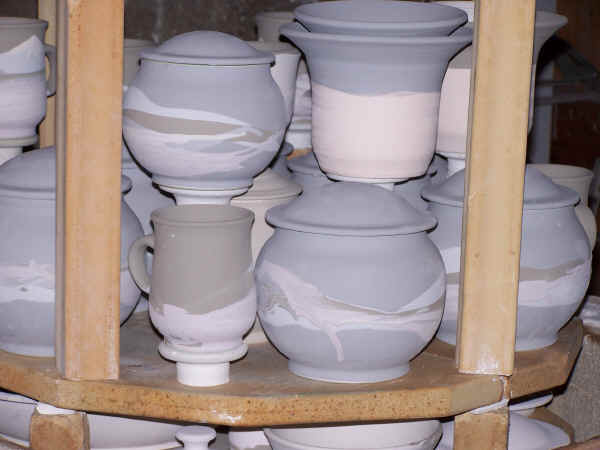
Notice how pots can be stacked above shorter pots to make the layer taller. Fewer shelves result in more even and faster firing.
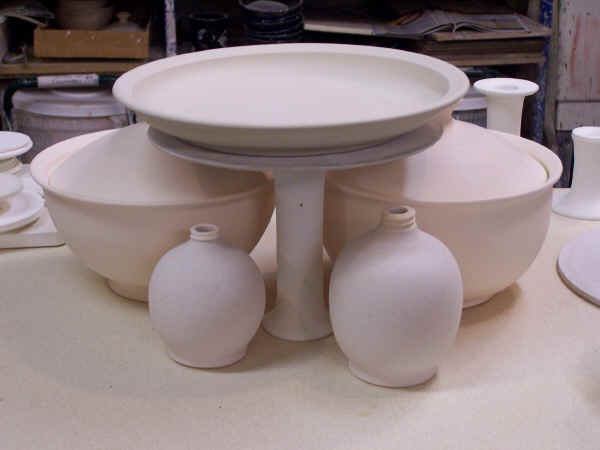
Here you see how easy it is to use the space over low, wide items like casserole dishes. Notice too that I have developed a simple method for threading clay. The soap bottles fit standard pumps supplied by places like Axner and others.
Laser Measuring Tools
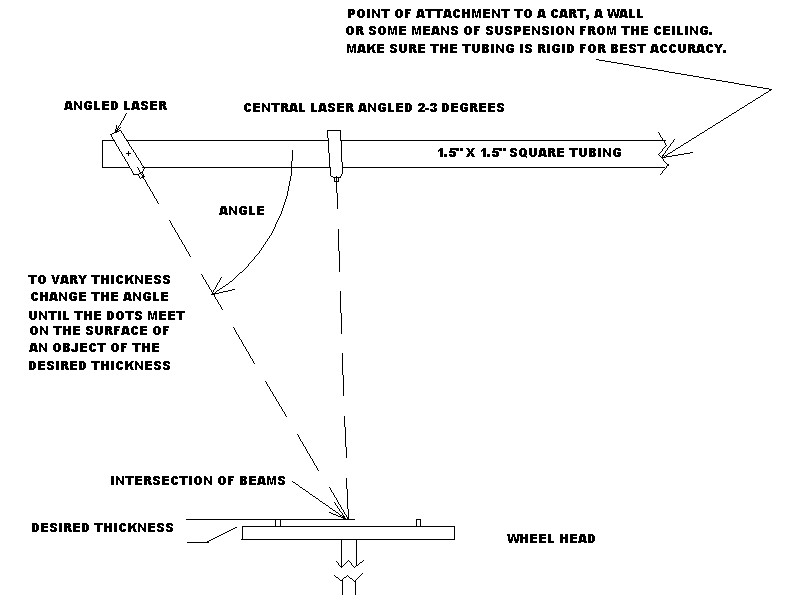
Below is a free sample of the depth finder part of the laser measuring system I have developed.
The main reason to use a depth finder is you no longer need to stop the wheel to check bottom thickness with a pin tool. Naturally, some people will not need to check bottom thickness due to long experience and high level of skill, but I am not there yet so I always check, every time and it takes virtually no time now since it happens on the fly real time.
Also, by using the beam spreader, the potter can check the entire surface thickness of a plate simply by looking at the convergence of the two laser beams.
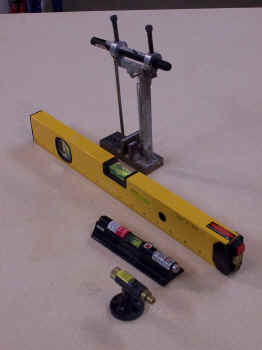
Here you see several types of lasers I have tried. The top laser with constructed frame is a standard laser pointer. Below that is a Harbor Freight laser level still sold for about $30 ( item # 90980). The next laser is the Torpedo Boy by Opcom which also cost about $30. The small laser at the bottom is from Harbor Freight ( item #93242) and cost $3.95 with a magnetic mount, but it appears to be discontinued. I have since found a source , A J Wholesale Distributing which distributes the Pit Bull brand. Their laser level costs about $12.00 (item # CHIL 999)
Depth finders are one tool everyone can use regardless of skill or volume of production
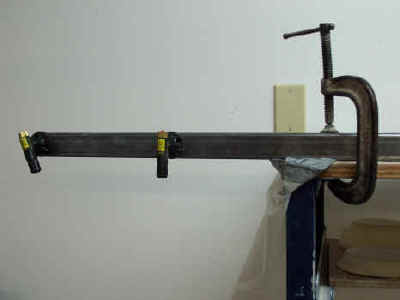
This is the simplest way to mount a pair of lasers for depth finding. I used the nearby cart as a place to attach a 1.5 ” x 1.5″ square tube made of steel so that the magnets would hold the lasers.
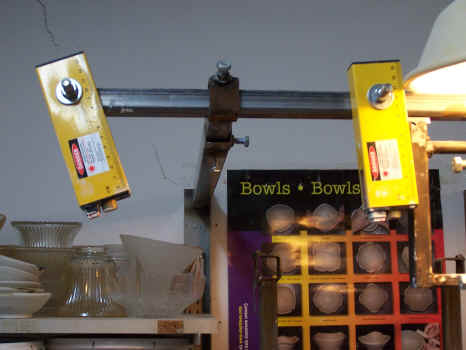
Here is the depth finder I set up on the elevator wheel I built. I cut down two of the large laser levels from Harbor Freight and drilled two half inch holes in the tube I attached to the wall with an extension arm ( the laser levels had a hole in them already).
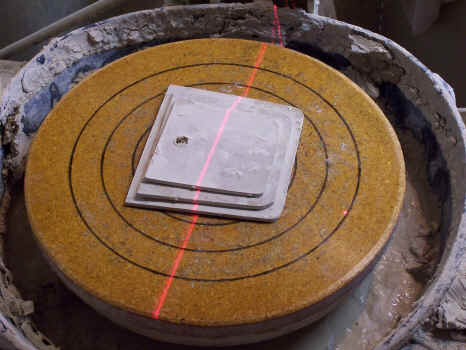
Here is how you set up the initial depth setting. Select boards that total the desired foot thickness (here 3/8″) and align the two laser beams so that they meet exactly on the top of the stack. Then, as you open, the beams will gradually converge as you drive your fingers into the bottom of the pot. Blocking the left hand beam before you reach final depth will result in the left hand line disappearing. If you accidentally go too far, blocking the left beam will result in the right hand line disappearing, signaling you the bottom is too thin. The beam spreader also makes it easy to get nice flat inside bottoms on pots and plates.
Be sure to keep water out of the bottom of the pots as this not only interferes with measurement but can also reflect the laser beam into your eyes.
A Homemade slab roller I built
Pictured below is the infinitely adjustable 4 gear driven slab roller.
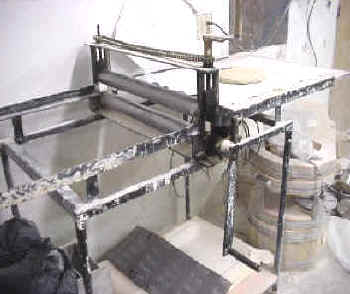
it is bi-directional so the slabs can be reduced going either direction for faster results. Maximum slab thickness is 1.5 inches. The boards I use are 24″ x 36″ but it really could accommodate much longer boards. Key to its construction is…
WELDING
Anyone who wants to build equipment can take a welding class and do the same things i have done for the past 36 years. I consider building equipment an extension of the drive to make things that comes from making pottery
The Giant Trim Arm System
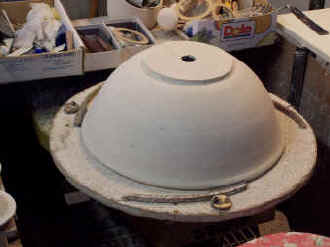
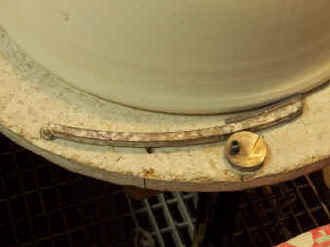
Trimming large items is easy with the clamp arm system below ( this is a 19″ diameter sink). The eccentric cams hold the desired tightness as long as you wish yet are easy to adjust when needed. The arms can fit different sized bats to allow small, medium or large pieces to be trimmed. The arm set costs $30.00 plus shipping. The cams are $27.00 a set.
Response to a question about the merit of making your own tools:
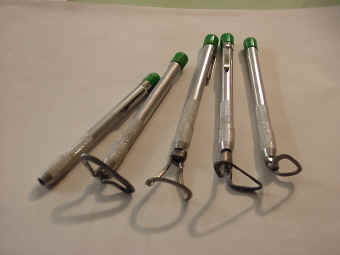 At the left is an assortment of tools we use all made in the manner below.
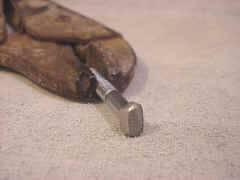
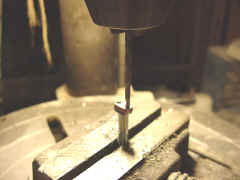
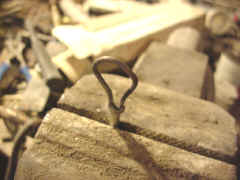
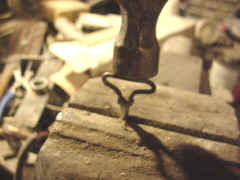
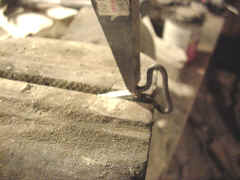
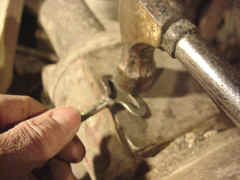
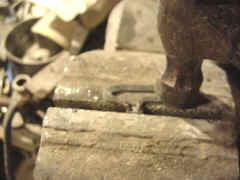
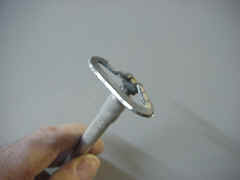
It starts by drilling 2 1/8″ holes near the points of a grade 2 1/4″ bolt 3″ long. The head is ground down to increase trimming clearance and make the tool more comfortable to hold. A piece of 12 gauge Nichrome wire or hardfacing welding rod is cut to the desired length and bent roughly into the shape needed. I always check the fit in the drill holes before bending the wire to be sure the wire will fit. I grind it a little if need be to assure an easy fit but not loose. Final shape is fine tuned by pounding after insertion into the holes. A chisel is used to swage the hole tightly around the wire after it is fully inserted into the holes. The wire is then pounded flat. Cold working Nichrome wire hardens it so it will hold an edge. After flattening, it is bent into the final shape and ground sharp, ready to trim. Welding rod requires a final heating and air quenching step to make it fully hard. Cost is very low, the shapes you can make are endless and the 90 degree bend means many shapes can be trimmed with this tool type that loop tools just cannot reach. The handles are collet style so the tools are easy to remove and replace. Handles cost $4.00 each and can be ordered from us.
Response to a question on the value of learning to weld:
Why should you learn to weld? Pictured below is the cross wire cutter I built in about an hour that cuts the pugs uniformly along their axis so that the spring loaded swing cutter can make the correct weight for the pots we plan to throw. The time saved is remarkable! Plus, it is a fun welding project. I used 1/16″ stainless steel welding rods as the cut wires to make the cuts wide so they do not stick back together.
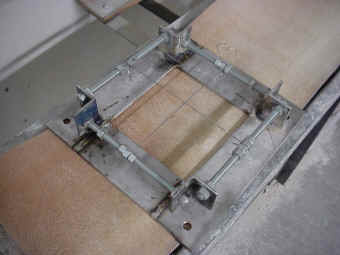
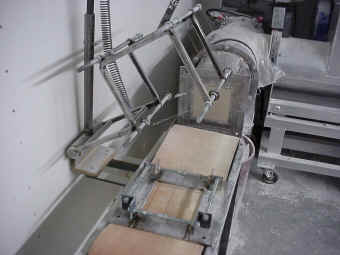
Notice the use of threaded rod so that the wires can be positioned anywhere I choose with accuracy and ease.